
What is dry cleaning?
Dry cleaning is the act of removing loose particles from a camera’s sensor. It is very important that a dry clean is done before a wet clean. Wet cleaning involves pulling a wet swab over the sensor, therefore it is crucial that loose particles have been removed first.


Steps:
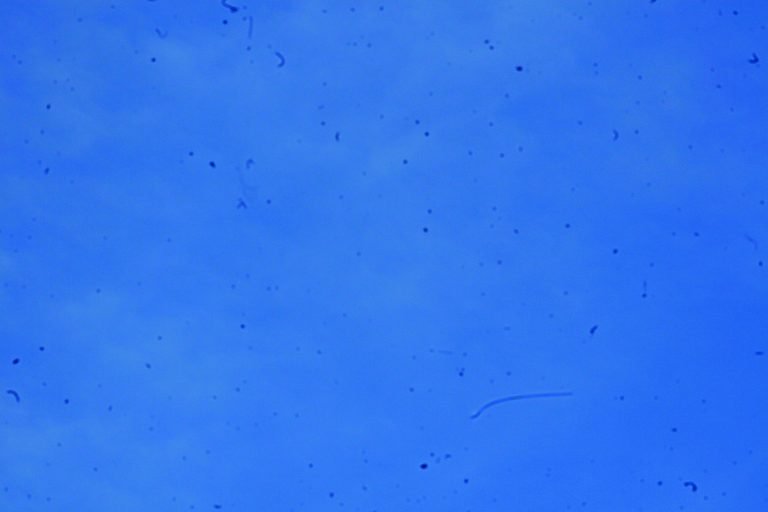
1: Take a test shot:
Photograph a blue sky or piece of white paper. (Shoot out of focus, at a small aperture – F22 for example).
2: Review:
Assess the test shot and decide if you need to clean the sensor. This is best done viewing the image on your computer monitor. If you wish, you can use your image editor to vary the exposure and highlight any contamination.
3: Decide:
If there are many contamination spots visible, consider a clean. If there are only one or two spots visible, do not clean. Cleaning whenever a fresh spot appears, wastes both time and cleaning materials. (Video shooters may wish to adopt a stricter cleaning policy as sensor spots will often show up in every frame and can be harder to remove in post processing.)
4: Prepare to clean:
Battery: Ensure you have a fully charged battery. Always do this before the next step!
Reveal: The sensor is inside the camera behind the mirror and shutter on a DSLR. You need to remove the lens and then use the camera’s menu system to raise the mirror and open the shutter to reveal the sensor. This is often called ‘Mirror Lock-Up’ mode. Consult your camera manual. Don’t touch the mirror and never touch the shutter blades. Never use ‘B’ mode to access the sensor. With mirrorless (CSC) cameras, the sensor is immediately visible once the lens is removed.
Hygiene: Dust is everywhere, you can’t hide from it but you can minimise the chance of any dust falling onto the sensor when cleaning. Wear clean clothes and keep your work area clean. Also, remember to store your cleaning tools properly, a blower left at the bottom of a camera bag will probably have sucked up lots of dust, so keep your brushes, blowers etc, in plastic bags.
5: Dry Clean:
Blower:
(low cost method): Always squeeze the bulb several times in a safe direction, before using it on the sensor, to ensure any debris has been expelled. Never blow on the sensor yourself and never use a compressed airline or aerosol air products. Hold the camera upside down, point the blower up into the mirror box (carefully, don’t let the blower come into contact with the sensor or sides of the box) and make several puff’s to blow dust off the sensor.
Dust Aid (recommended method):
Dust Aid Platinum is a silicone pad that physically removes dust from the sensor, rather than blowing it somewhere else. The kit includes a wand with a silicone pad at one end and 6 cleaning strips. To use the Platinum simply peel the backing paper off one of the cleaning strips, then press the silicone pad onto the cleaning strip. Doing this cleans the silicone pad, once the pad has been cleared of dust, it is ready to use.
You then use the silicone pad to remove loose dust from your sensor. The silicone is naturally tacky, so dust adheres to it. Just gently press the pad down on your sensor and lift. Don’t rub or drag the pad, just a simple press and lift. More info here.
Important:
To perform a cleaning procedure, it is necessary to open the shutter on the camera to gain access to the sensor. It is essential that you are fully aware of how to open the shutter and keep the shutter open while cleaning the sensor. If the shutter closes while cleaning is taking place the camera will be damaged. Please refer to the camera manufacturer’s instructions on how to open the shutter for cleaning purposes. If you are not 100% confident in this process, please return your camera to the manufacturer for sensor cleaning.
Some sensors are mounted on a 5-Axis electronic gimbal mechanism to reduce camera shake. The sensor will move from side to side when touched. Cleaning should be done as carefully as possible. Use minimum pressure to avoid moving the sensor. Some cameras allow the sensor to be ‘locked’ in position for cleaning, in which case more pressure is permitted.


After dry cleaning.
After dry cleaning the sensor, take another test shot to see how clean the sensor is. Any remaining contamination will be ‘stuck’ to the sensor and must be cleaned away with a swab(s) and solution. Since this will involve physically rubbing the sensor with a swab it’s important that the dry clean has been carried out properly first, to remove anything ‘gritty’ prior to swabbing.
Click here to see how to wet clean your camera’s sensor with swabs and solution.
Click here to see our range of blowers.
Click here to see Dust Aid Platinum.
Click here to see Dust Aid Platinum with light.
If you need further guidance please visit our video tutorials page here.